Prusa Mini+ Case
Introduction
A (long now) while ago, Pushkotch got as a present a Prusa Mini+. It was partially assembled and our first project with it was to finalize the assembly. Which we did! Yay! And from there goes the rabbit hole... We learn how to get along with our new friend and discovered what can we print: from Raspberry Pi cases to weapons for Lego figures :-)
One of the projects that we had in mind and in backlog was the extension from here: https://blog.prusa3d.com/enter-the-mini-base_50290/. This would of helped us to organize the things better and would of made everything neater.
Unfortunately we need to strike this project through because of two reasons:
- noise
- smell
Yeah, so since we are not pro-3d-printers, the printing takes place in Pushkotch's room and its loud and smelly.
The solution: build a case for the Prusa Mini+ and here Tatkotch had an idea...
We first look on what the swarm-intelligence already done, with the idea to take over an idea and to craft it ourselves. But nothing that we found matched our needs: either too expensive, or not helping us on the above mentioned two problems.
The Design
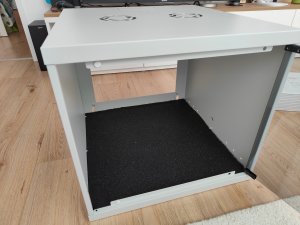
Luckily something draw Tatkotch attention: while browsing https://geizhals.at/ in search for a computer case another type of case popped up: a rack enclosure, a 9HE rack enclosure, more specific this one: Intellinet 9HE Wandschrank hellgrau, 560mm tief. It had almost everything that we need:
- good enclosure with glass door
- big enough to fit our printer (we think that this can fit also a slightly bigger printer... actually the size is "a bit" too big, but not with much)
- fans mounts (2x120mm) - in case we would need to cool it down
- is half-ready solution on which we can work
What it lacked? Well:
- a back panel: as this is a rack mount its thought to be wall-mounted and to allow cables to come out of it. Not for our usage-scenario!
- sound insulation: the back panel would help but we need something to absorb a bit more sound
- light: since this is closed we would like to see how/what is printed
- help with printer vibration: with something like this we would hit two targets with one arrow: we would both reduce the noise from vibrations and we would improve the printing precision.
Therefore we decided the following:
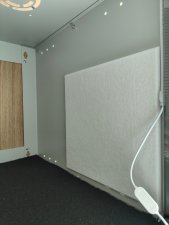
- to build a back panel from ply wood: wood is easy to work with and is a good sound absorber. Additionally the sound proofing can be improved (see below) and let's not forget: this will be on the back of the case, so not very much visible...
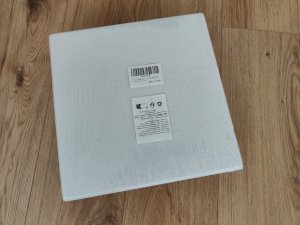
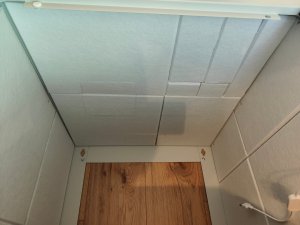
- sound insulation/absorption: good luck going down that rabbit hole. After reading and reading we decided to use these panels: Square Acoustic Panels, Self-Adhesive, Pack of 12, Sound Absorber
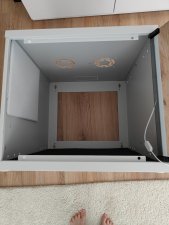
- for the light we had a led strip lying around which was fitting very well under the case rim ;-)
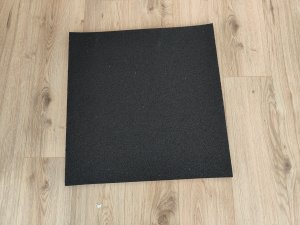
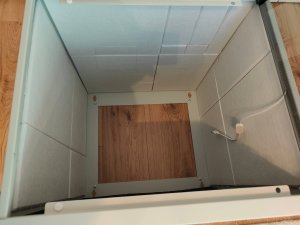
- for the vibration we went with this Anti-Vibrations Mat, 1,97cm thick. I think we exaggerated here a bit, but it was not so expensive and we had enough room inside the case
This sums up the design. We have ordered the materials and then we proceed to bring them together, as follows...
The Make
I guess its time for some pictures :-)
The overview
This is how we started:
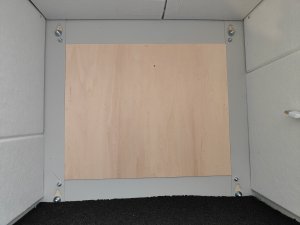
The Back
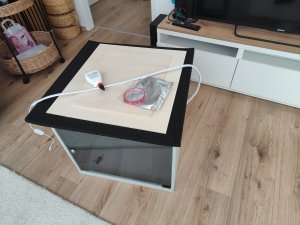
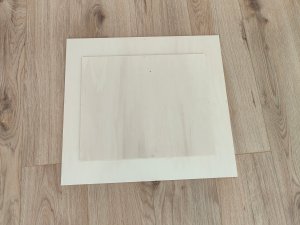
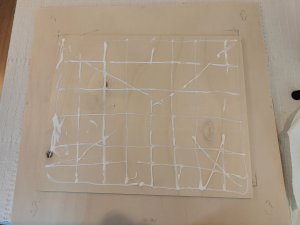
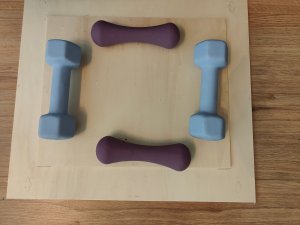
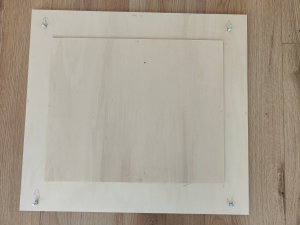
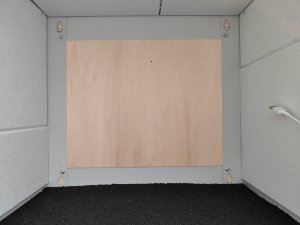
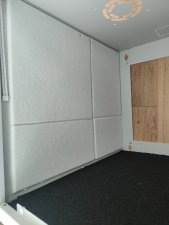
As mentioned the back is from plywood. We used 2 pieces of plywood to match the cut in the case from the back and some screws to fix it to the case. One last sound-isolation panel rounded up the job. Here are the pics:
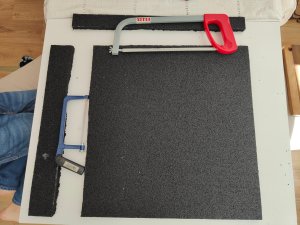
The Vibration Mat
This mat was added to the build for multiple reasons:
- reducing the vibrations increase the quality print
- reducing the vibrations also decreases the noise level
- it helps also with the leveling...
here are the pics for the vibration mat:
The sound isolation/absorption panels
These are, we think, one of the big pluses of this build!
Time for a break and check up
Bringing the case in position
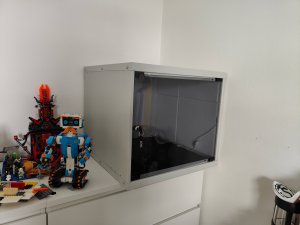
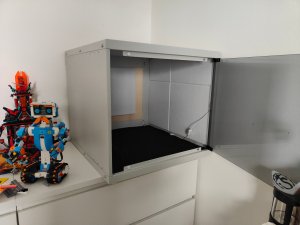
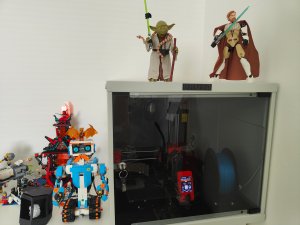
Not gonna lie, this is bigger and bulkier than expected, so this goes on the disadvantages list. But this we knew before we start and there was something else that we were looking for: quieter and less smelly... Anyway this is how it looks:
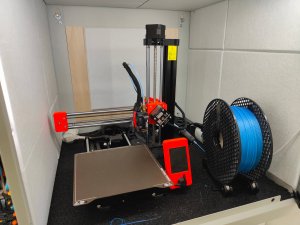
Bringing the printer to the mix...
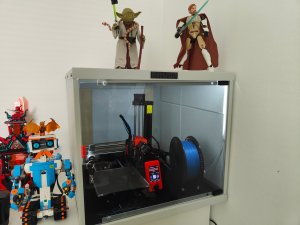
And this is how the final look is:
The case at work
Conclusion
We are very happy with the final result and we have used it since we've built it: the noise level is considerably reduced and the smell is almost nonexistent. So far we did not had problem printing mostly PLA in this closed enclosure, but if necessary on top there are mounts for 2 case vents that we could use to cool it down. So to recap:
- Advantages: reduced noise, reduced smell, reduced vibration, added light
- Disadvantages: the case is a bit bulky, but as you can see, at least we can use the top as a shelf :-D
